
Download the free Fluistr plugin form the WordPress plugin page. After you’ve installed click on “Activate” to start. After the button displays “active” an extra menu will appear on the left side in the WordPress menu. Fluistr works on WordPress version 5.0 and higher.
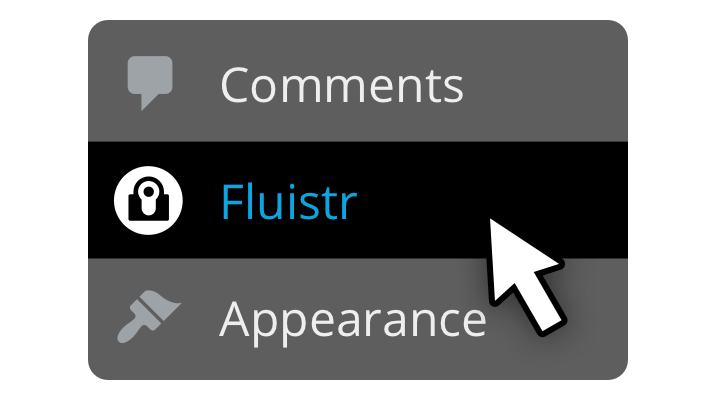
Go to the Fluistr settings menu by clicking on it in the WordPress menu. You must check the box to agree to the Fluistr terms of service. Now you can get started with the settings you want.
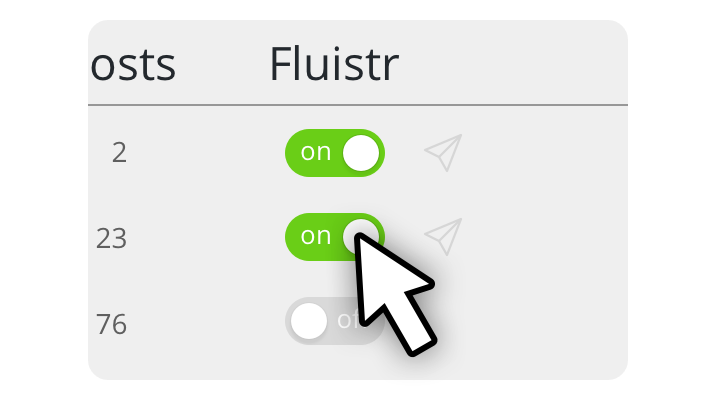
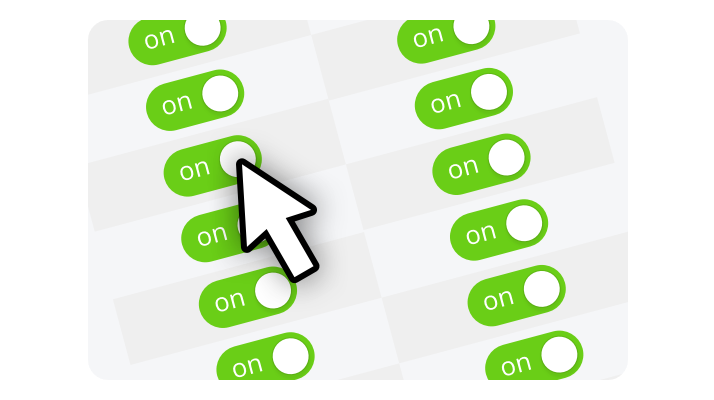
Go to the WordPress users page by clicking on it in the WordPress menu. You will notice that an additional Fluistr column has been added to the right of the Users table. It allows you to determine which users can log in with Fluistr. The small icon next to the switch indicates whether the user has received the installation e-mail (e-mail icon) or has already established a secure Fluistr connection (Fluistr icon).
Free has no other restrictions other than the number of users who can use the Fluistr login method. If you want to allow more users to use Fluistr, you can purchase a Pro license. A Pro license offers the possibility to allow an unlimited number of users to use Fluistr. It also entitles you to 1 year of free updates and support, and remains active for an unlimited period.
We would like to point out that when you purchase an unlimited bundle in the Fluistr app, it comes with a free Pro license for your WordPress site. Check the Fluistr app to find out.
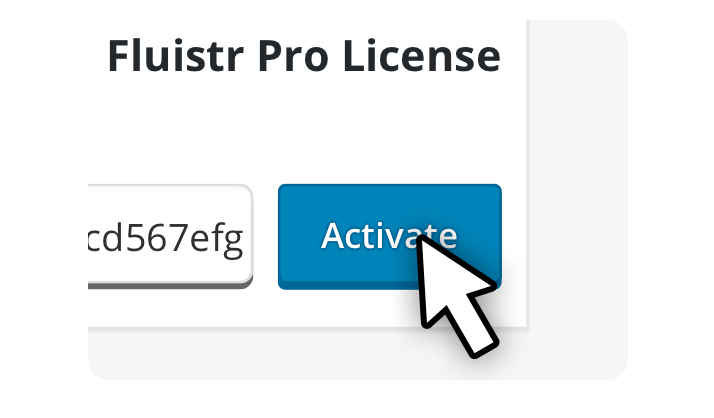
When you have received a Pro license, copy the license key. Then go to the Fluistr settings in the WordPress menu and click on the tab “License”. Here you paste the license in the appropriate field and press “Activate”.
